Welcome ~ please feel free to explore, there's lots to discover and I hope you'll come back often.
Showing posts with label 1:6 Scale Bed. Show all posts

Friday

Project: One Bed for Three (Part 4)

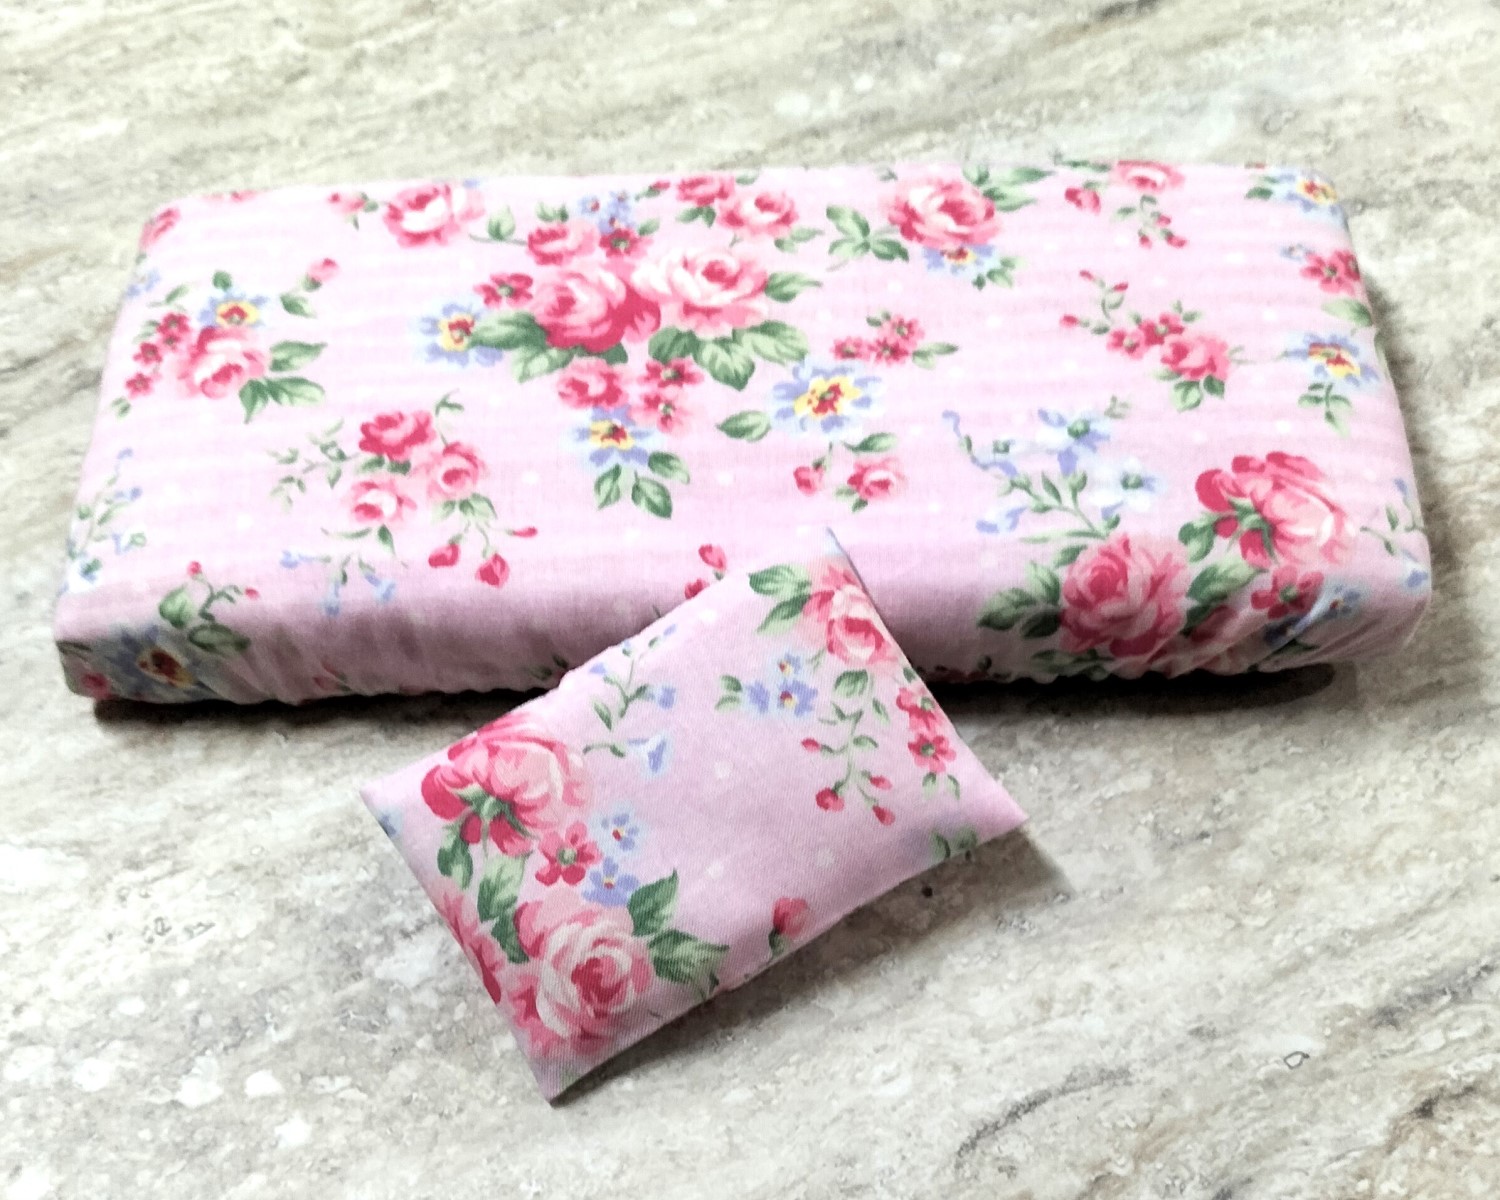
Today I began making the bed linens. Firstly I wanted to make some fitted sheets and pillows and began by selecting a pretty lightweight cotton.


After cutting my pieces to size, I made the pillow cases. Then rather than making the fitted sheet like one would for a real bed, I simply drew around a glass to curve the corners. 


I turned over approximately 1cm around the outside and ironed it down, before stitching it to make a casing for the elastic. Then I inserted 5mm elastic and pulled it up so it fitted nicely over the mattress.


I tossed up the idea of making flat sheets with blankets or duvets. I settled on the duvets.


This photo was taken before I added the decals, so you'll deduce I didn't do everything in the order as posted. Also, thanks again to Jodi, I shall be using Tacky Wax to hold the duvets in position when I take my next lot of photos.

Wednesday

Project: One Bed for Three (Part 3)

The next step was to make the mattresses. Following Jodi's instructions which she used to make Roz's mattress, but modified to my own requirements.

I used three layers of 5mm foam core glued together, then three layers of Minijumbuk Nu-Wool Quilt Wading on top of that, because I didn't have any batting. Before gluing the wadding layers to the foam core, I pre-drilled a series of holes as Jodi had done, for later tufting.


Next I covered the mattress with fabric. I didn't have any ticking in my stash, but I did have this pretty pink stripe which I thought would look okay.


After sewing the tufts, I made a bottom cover with cardstock. I didn't add and strip around the outside as Jodi did, because the mattress didn't appear to need it. It would also have made it difficult to add the fitted sheet and still have it sit comfortably in the bunk.

A big thanks go to Jodi for her inspiration and generous spirit, she made this project a whole lot simpler for me. 

Sunday

Project: One Bed for Three (Part 2)

After hubby cut all the MDF pieces for me I began assembling the bed trundle and bunks. Once again his tools came in handy to keep things squarely in place while the glue dried.


In the meantime I ordered these lovely decals from Amazon to decorate the bed once it has been painted. They are tiny, come in a set of ten different sheets and are perfect for decorating doll furniture.


All three pieces assembled, glued and ready for sanding.


The bunk bed ends cut, sanded and ready to be attached.


When I glued the the first bed end to the bunk beds,  I used clamps to hold everything in place until the glue set, before adding the second bed end.


All assembled and ready for painting. I debated between painting the beds white or grey, and finally settled on white. I thought the decals would be more clearly noticeable against a lighter background.


After painting and adding the decals.


Next project on the agenda is the bedding and before anyone asks, there is a ladder coming for the bunk.
Thursday

Project: One Bed for Three (Part 1)

Fitting three little kids into one small 1:6 scale bedroom where space was at a premium was really going to challenge my brain.

That is until I saw the large Badger Basket Trundle Doll Bunk Bed designed for dolls up to 20 inches, on the Badger Basket website.

Of course that bed would be far too big for my kids, hell, even a 1:6 scale bed is going to take up a whole heap of room. However, if I went a little smaller it wouldn't be so bad, and let's face it, these kids are hardly what you would call tall!

Speaking of tall, I realised this bed would need to be exactly that if I was going to fit their fat little heads under a bunk. I think I'm going to have to pull a Jodi and be a little creative with the size of this bed. 

Okay here's where I'm at ~ I've decided it will be 27cm long by 14 cm wide and 27 cm tall.


The next step was to make the head and foot template for hubby to use to cut the MDF.