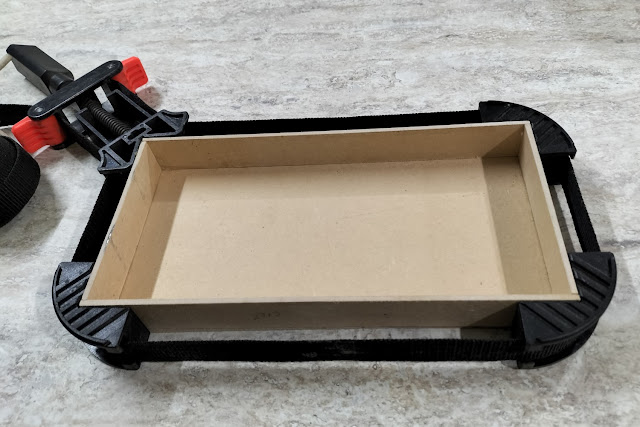
After hubby cut all the MDF pieces for me I began assembling the bed trundle and bunks. Once again his tools came in handy to keep things squarely in place while the glue dried.
In the meantime I ordered these lovely decals from Amazon to decorate the bed once it has been painted. They are tiny, come in a set of ten different sheets and are perfect for decorating doll furniture.
All three pieces assembled, glued and ready for sanding.
When I glued the the first bed end to the bunk beds, I used clamps to hold everything in place until the glue set, before adding the second bed end.
All assembled and ready for painting. I debated between painting the beds white or grey, and finally settled on white. I thought the decals would be more clearly noticeable against a lighter background.
After painting and adding the decals.
Next project on the agenda is the bedding and before anyone asks, there is a ladder coming for the bunk.


This bed looks beautiful and I'm sure it will be very comfy! Your girls will love it!
ReplyDeleteThank you Chiriann, still mattress & bedding to come, but I think they will be happy enough. :)
DeleteWow! They are so perfectly designed, cut, painted and adorned! Can't wait to see what you've come up with for the beds and bedding, and I better add this blog to my blog roll because I missed the last two posts!
ReplyDeleteThank you Jodi for your kind comments and for adding me to your blog roll. I think went a bit overboard with the decals, but once I started I couldn't stop.
Delete